The Art of Napkin Folding. Impress Your Guests with Creative Techniques
Are you tired of placing your napkins on your lap in the same old boring way? The art of napkin folding adds an extra touch of elegance to your dining table. It also shows off your creativity and style. Napkin folding has been a tradition for centuries, and with the rise of social media, it has become even more popular than ever. Creative napkin folds can make a simple dinner party or family gathering feel more special and memorable. Whether you’re hosting a fancy dinner party, a holiday gathering, or just a casual dinner with friends, the right napkin fold can help elevate the occasion. A creatively folded napkin is an affordable way to add a touch of elegance and sophistication to any table setting.
This article will guide you through the different kinds of simple and creative napkin folds that will transform your table into a work of art. From easy to difficult folds, we’ve got you covered. Check out step-by-step instructions, along with tips and tricks to make your napkin folds look perfect every time!
Step-by-Step Guide to Napkin Folding
Materials Needed
Before we fold, it’s vital to have all the materials on hand. You’ll need –
- Napkins: Cloth or paper napkins can both work for folding. Choose a colour or pattern that complements your table setting.
- Flat surface: A table or countertop will work as a surface to fold your napkins on.
- Iron: This is optional, but if you want crisp, neat folds, ironing your napkins beforehand can be helpful.
- Embellishments: Ribbons, flowers, or other decorative items can add a nice touch to your folded napkins.
Basic Napkin Folding Techniques
Basic napkin-folding techniques are the foundation of any napkin-folding repertoire. They are simple to learn and can be modified to suit any occasion. Here are some of the most popular basic napkin-folding techniques:
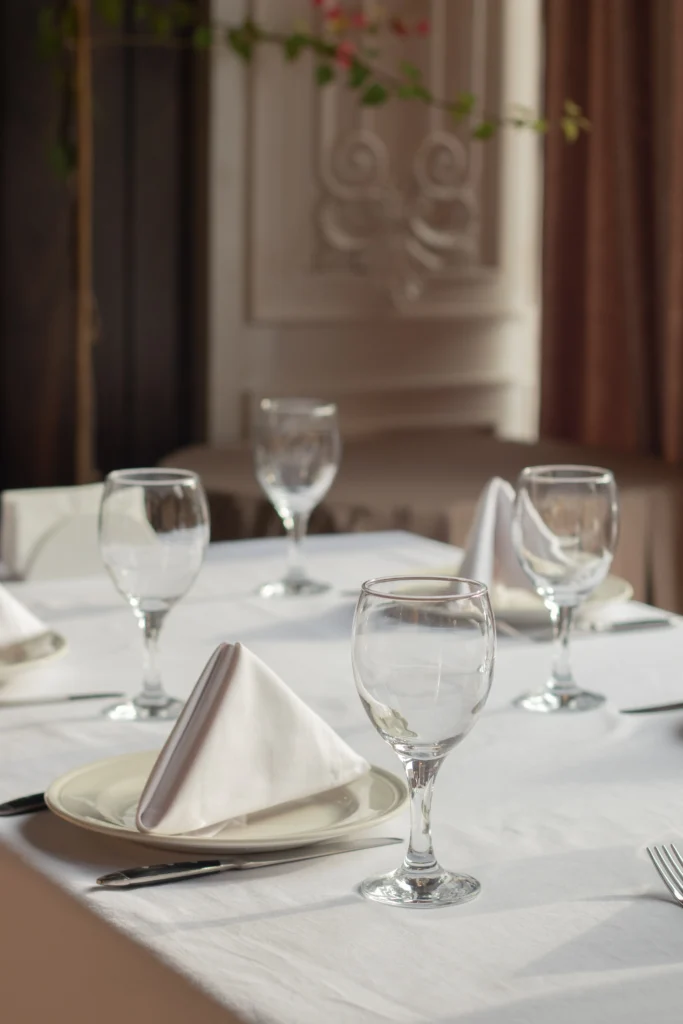
A. Triangular Fold
The triangular fold is a classic napkin fold that is quick and easy to do. Here’s how to do it:
- Begin by laying the napkin flat on a surface in front of you.
- Fold the napkin in half to form a triangle, with the open end facing you.
- Fold the napkin in half again, bringing the right corner over to the left corner to create a smaller triangle.
- Flip the napkin over, keeping the folded edges facing down.
- Fold the left corner up to the top point, creating a smaller triangle at the bottom.
- Fold the right corner up to the top point, tucking it into the pocket created by the left corner.
Adjust the corners to create a clean, symmetrical shape.
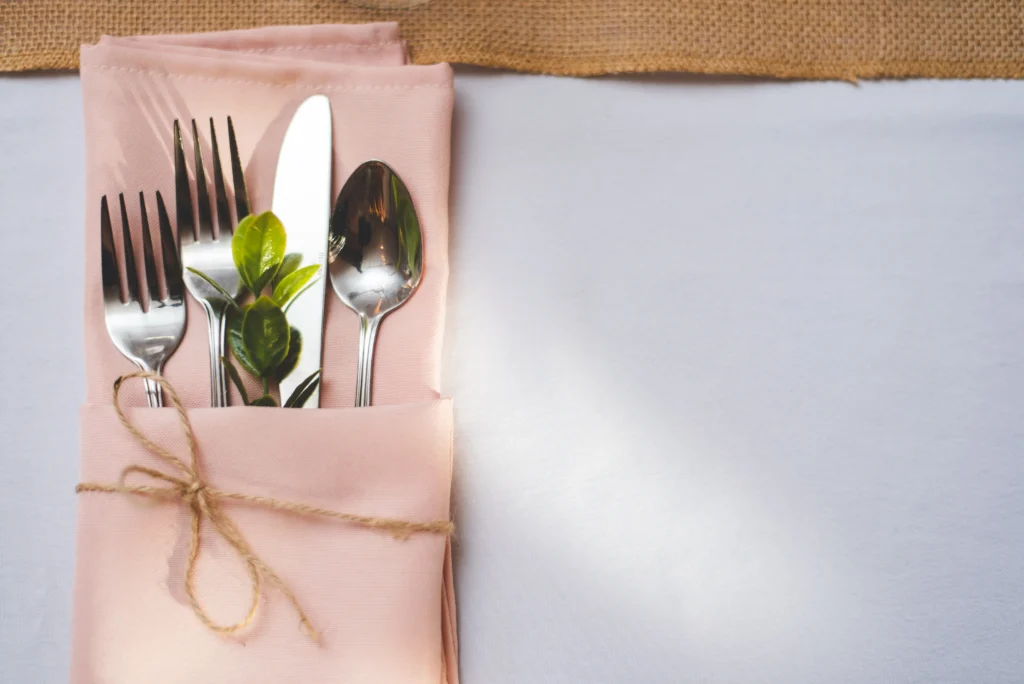
B. Pocket Fold
The pocket fold is another simple and versatile fold that is used for any occasion. It’s perfect for holding utensils or a menu card. Here’s how to do it:
- Begin by laying the napkin flat on a surface in front of you.
- Fold the napkin in half vertically, with the open end facing away from you.
- Fold the napkin in half again horizontally, with the fold facing you.
- Fold the top layer of the right side diagonally down to the center of the napkin, creating a triangle.
- Repeat step 4 with the left side.
- Flip the napkin over.
- Fold the bottom up to the centre, creating a pocket.
Tuck in any loose corners and adjust the folds as needed.
C. Diamond Fold
The diamond fold is a great way to add some elegance to your table setting. Here’s how to do it:
- Begin by laying the napkin flat on a surface in front of you.
- Fold the napkin in half diagonally to form a triangle, with the open end facing away from you.
- Fold the right corner up to the top point, creating a smaller triangle at the bottom.
- Repeat step 3 with the left corner.
- Turn the napkin over.
- Fold the napkin in half diagonally, with the fold facing you.
- Fold the left corner over to the right corner, creating a smaller diamond shape.
- Tuck the top corner into the pocket created by the bottom layer.
D. Roll Fold
The roll fold is a great option for a more casual setting. It’s perfect for picnics or outdoor gatherings. Here’s how to do it:
- Begin by laying the napkin flat on a surface in front of you.
- Fold the napkin in half diagonally to form a triangle, with the open end facing away from you.
- Fold the left and right corners up to the top point, creating a smaller triangle at the bottom.
- Roll the bottom edge of the napkin up towards the top point, creating a cylindrical shape.
- Fold the napkin in half, tucking the top corner into the pocket created by the bottom layer.
- Adjust the folds and roll as needed to create a neat, cylindrical shape.
These basic napkin-folding techniques are easy to master and can be used for any occasion. Once you’ve mastered these techniques, you can move on to more creative and elaborate napkin folds.
Creative Napkin Folds
Now that you have mastered the basic napkin folds, it’s time to take your skills up a notch and try some creative napkin folds that will definitely impress your guests.
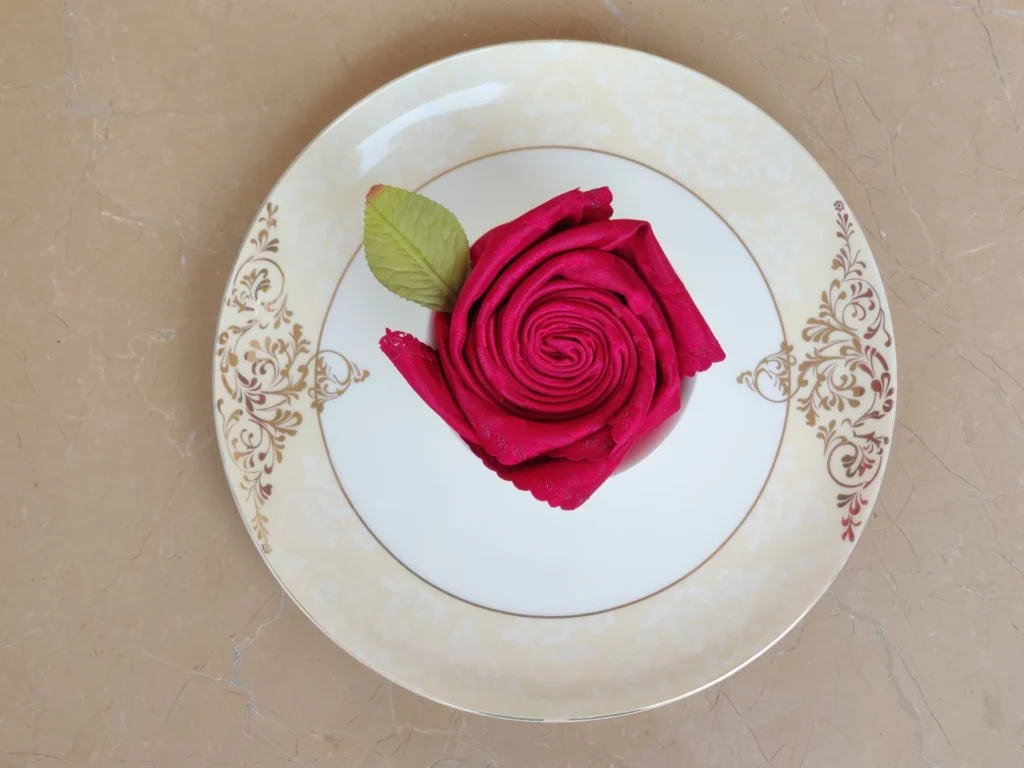
A. Rose Fold
The rose fold is a classic and elegant napkin fold that resembles a blooming flower. It’s perfect for a romantic dinner or a wedding reception.
To create a rose fold:
- Start with a square napkin and fold it in half diagonally to form a triangle.
- Fold the top corner down to meet the lower corner, creating a smaller triangle.
- Take the right corner of the triangle and fold it up to the centre of the napkin, forming a smaller triangle with a straight edge at the bottom.
- Repeat the previous step with the left corner, folding it up to the centre of the napkin to create a smaller triangle.
- Flip the napkin over, so the folded edges are facing down.
- Take the left and right corners of the top layer (the ones you folded up in step 4 and fold them towards the centre to form the petals of the rose. The more you fold them in, the tighter the centre of the rose will be.
- Fold the bottom corner of the remaining triangle (the one that’s still pointing down) up towards the top of the napkin, tucking it underneath the folds you just made. This will secure the rose in place.
- Carefully flip the napkin over and gently separate and arrange the layers of the top corner to form the petals of the rose. You can adjust them to make the rose look more natural and blooming.
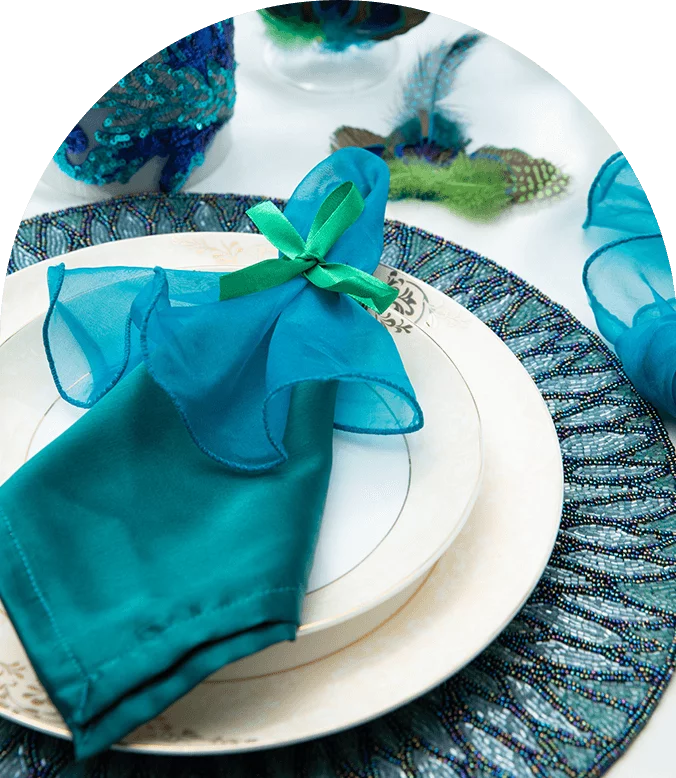
B. Bow Tie Fold
The bow tie fold is a fun and playful napkin fold that’s perfect for a themed party or a casual gathering.
To create a bow tie fold:
- Start with a square napkin and fold it in half transversely to form a triangle.
- Take the left and right corners and fold them up to meet the top corner, forming a diamond shape.
- Fold the left and right corners towards the centre to create a smaller diamond shape.
- Fold the top corner down towards the centre of the diamond shape.
- Flip the napkin over and fold the bottom corner up towards the top of the napkin, tucking it underneath the folds you just made.
- Tie a ribbon or a piece of string around the centre of the napkin to create the bow tie.
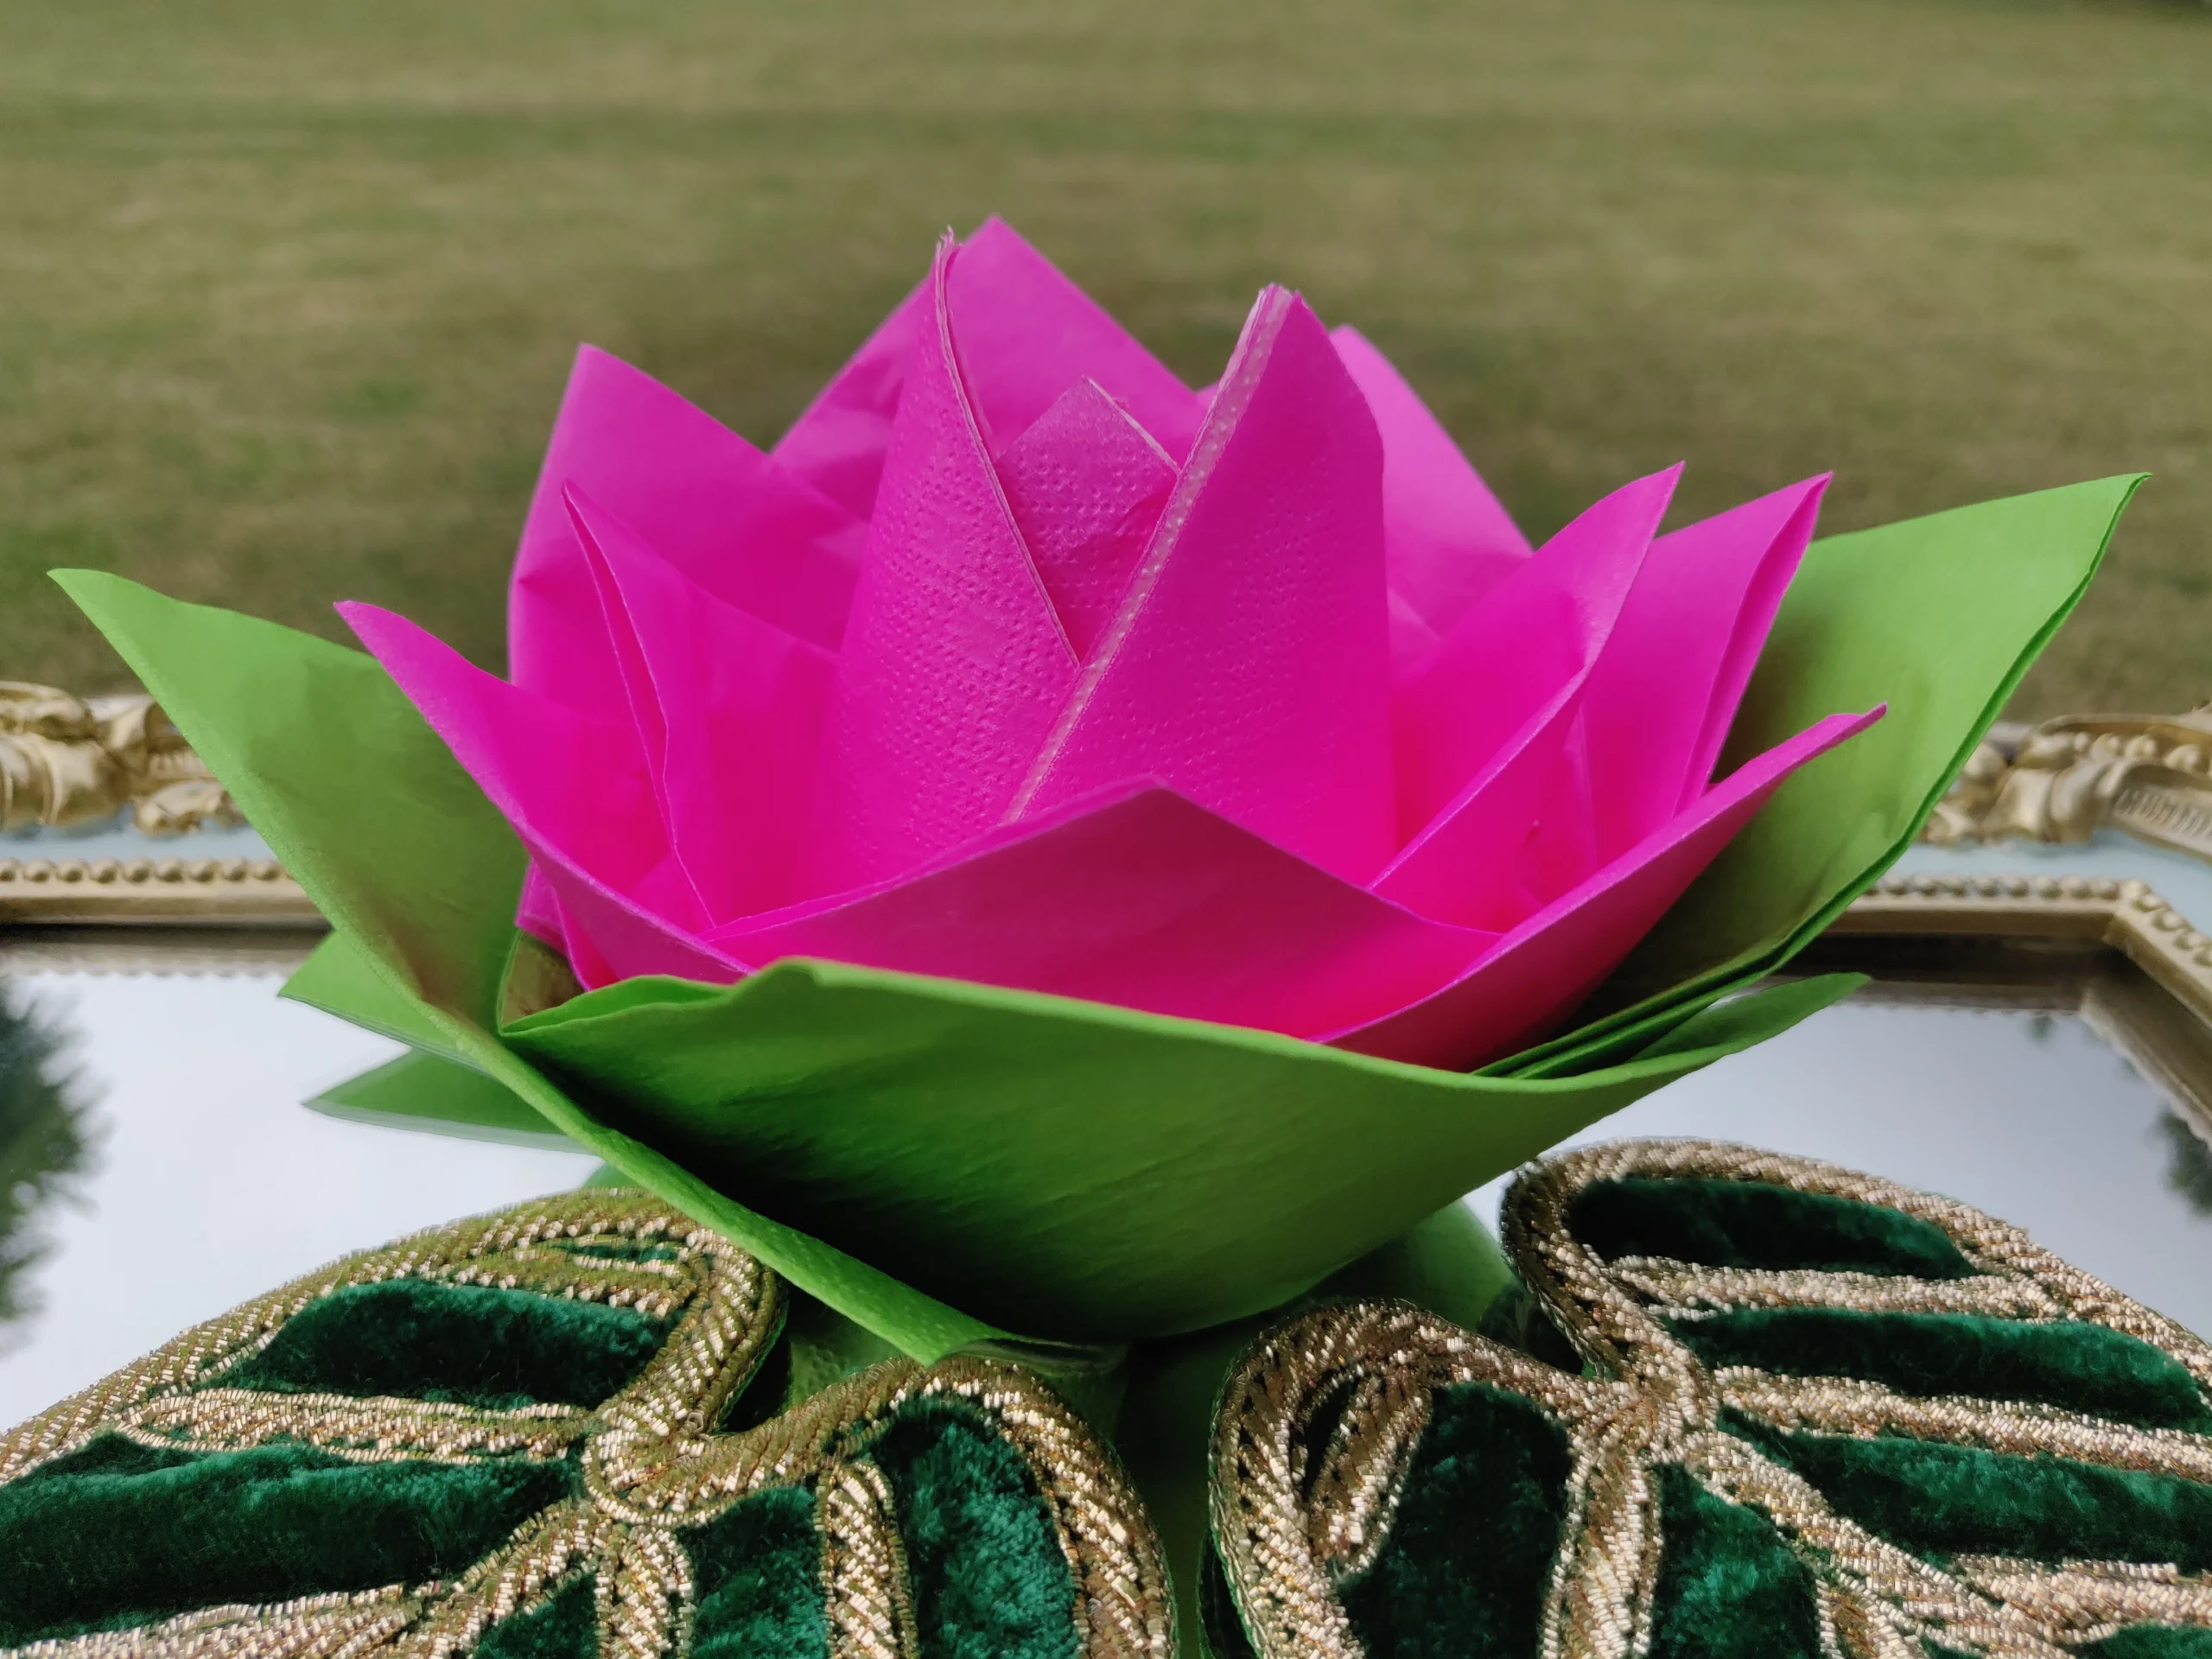
C. Bird of Paradise Fold
The Bird of Paradise fold is a stunning and intricate napkin fold that resembles a tropical flower. It’s perfect for a summer party or a beach wedding.
To create a bird of paradise fold:
- Start with a square napkin and fold it in half transversely to form a triangle.
- Fold the top layer of the right corner down towards the centre of the napkin, leaving a small gap.
- Repeat with the top layer of the left corner, folding it down towards the centre of the napkin and tucking it under the folds of the right corner.
- Fold the top layer of the bottom corner up towards the top of the napkin, leaving a small gap.
- Fold the left and right corners towards the centre of the napkin, tucking them under the folds of the top corner.
- Flip the napkin over and fold the left and right corners towards the centre of the napkin, tucking them under the folds of the top corner.
- Pull apart the layers of the top corner to form the petals of the bird of paradise.
D. Candle Fold
The candle fold is a simple and elegant napkin fold that resembles a burning candle. It’s perfect for a holiday party or a formal dinner.
To create a candle fold:
- Start with a square napkin and fold it in half transversely to form a triangle.
- Roll the napkin tightly from the long edge towards the centre, leaving about an inch of space at the bottom.
- Fold the bottom corner up towards the top of the napkin, tucking it underneath the roll.
- Tuck a sprig of herbs or a small flower into the top of the roll to resemble a flame.
Tips for Perfect Napkin Folds
Now that you’ve learned the basic and creative napkin folds, it’s time to perfect them with these tips:
A. Choosing the right napkin:
The first step to achieving a perfect napkin fold is choosing the right napkin. Choose napkins that are made of cotton or linen as they hold their shape better than paper napkins. Also, choose napkins that are the right size for the fold you want to make.
B. Ironing the napkins:
Ironing your napkins before folding them is crucial to achieving crisp and neat folds. Iron them in the heat setting and use a pressing cloth to prevent any scorching or burning.
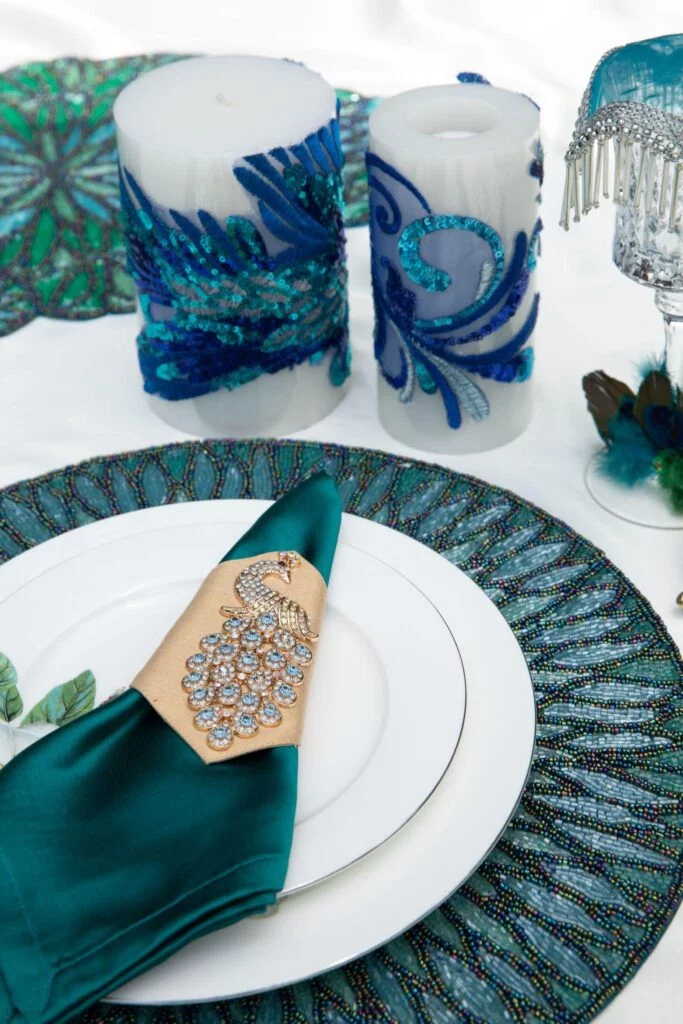
C. Adding embellishments: Adding embellishments such as napkin rings, ribbons, or fresh flowers can elevate your napkin folds and make them more visually appealing. However, choose embellishments that complement your table setting and don’t overpower it.
D. Preparing for the folds:
Before starting the folds, clear your workspace and have all the tools and materials within reach. This will save you time and make the folding process smoother.
E. Troubleshooting common issues:
If you’re having trouble with a particular fold, don’t be discouraged. Some common issues include a napkin that is too thick or too thin, or a fold that doesn’t hold its shape. Experiment with different napkin sizes, fabrics, and folding techniques until you find what works best for you.
Napkin folding is an art that can add an extra touch of elegance to any table setting. With the right materials, techniques, and tips, you can create beautiful and creative napkin folds that will impress your guests. Remember to choose the right napkin, iron them before folding, add embellishments to enhance the look, prepare your workspace, and troubleshoot any issues you encounter. With these tips in mind, you’re ready to create stunning napkin folds that will make your table setting stand out.
So, what are you waiting for? Start exploring new napkin folding ideas and techniques today and elevate your tablescape to the next level!
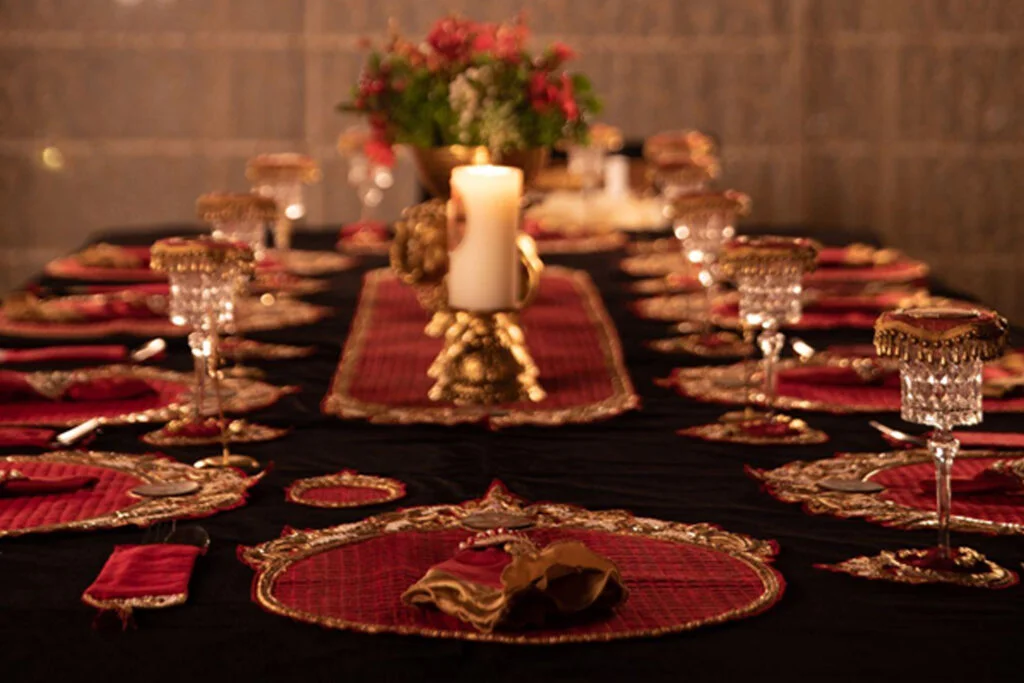
 Table Styling
 Dinnig Etiquette
 Modern